9mm & .45 Cal Drill Fixture Instructions
With more and more customers using our drill fixture, I thought it’d be in our best interest to put together a quick instruction guide for our drill fixture!
DISCLAIMER: FAILURE TO COMPLETE AND HAVE AN APPROVED ATF FORM 1 AND DRILL YOUR INTERNALS IS CONSIDERED A FELONY. DON’T BE A DUMBASS.
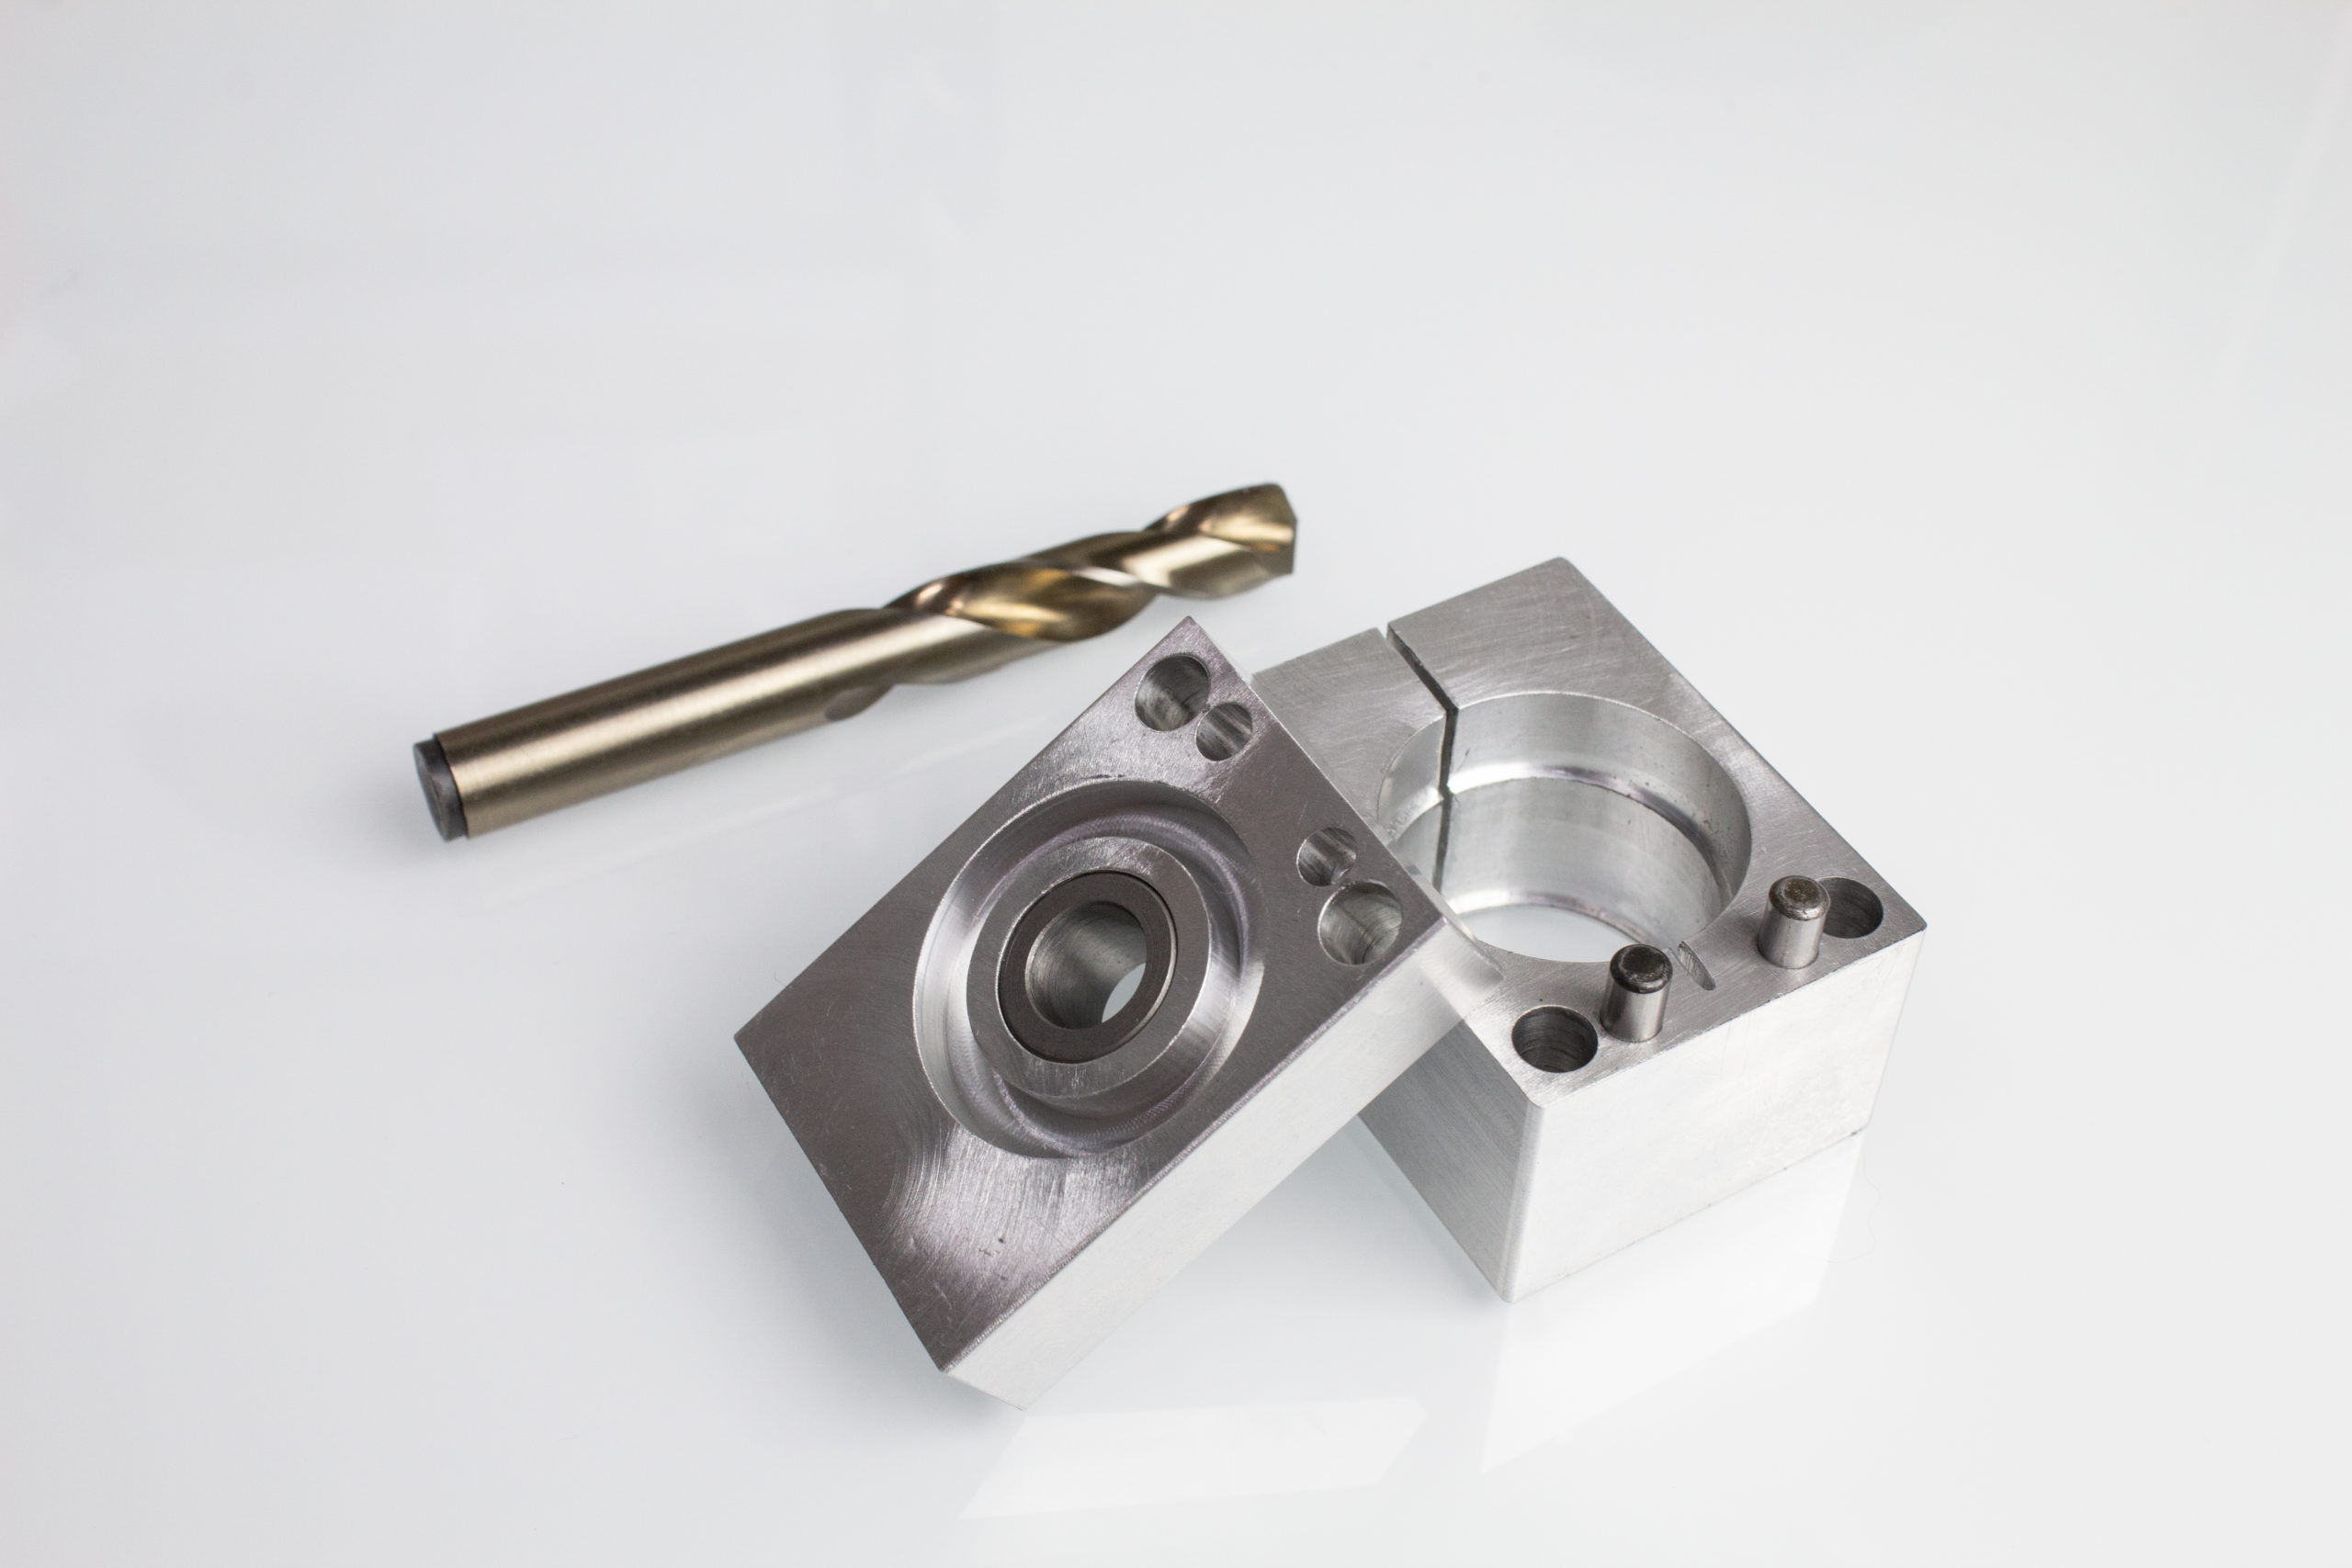
After unpacking the contents from the drill fixture bag you should have 3 bolts, with 3 corresponding nuts a drill bit and the fixture itself.
First, you will want to separate the top and bottom of the drill fixture by lifting the top half of the drill fixture from the bottom. (these may be a bit tight, you can use a flat head screwdriver on the corner to get them started)

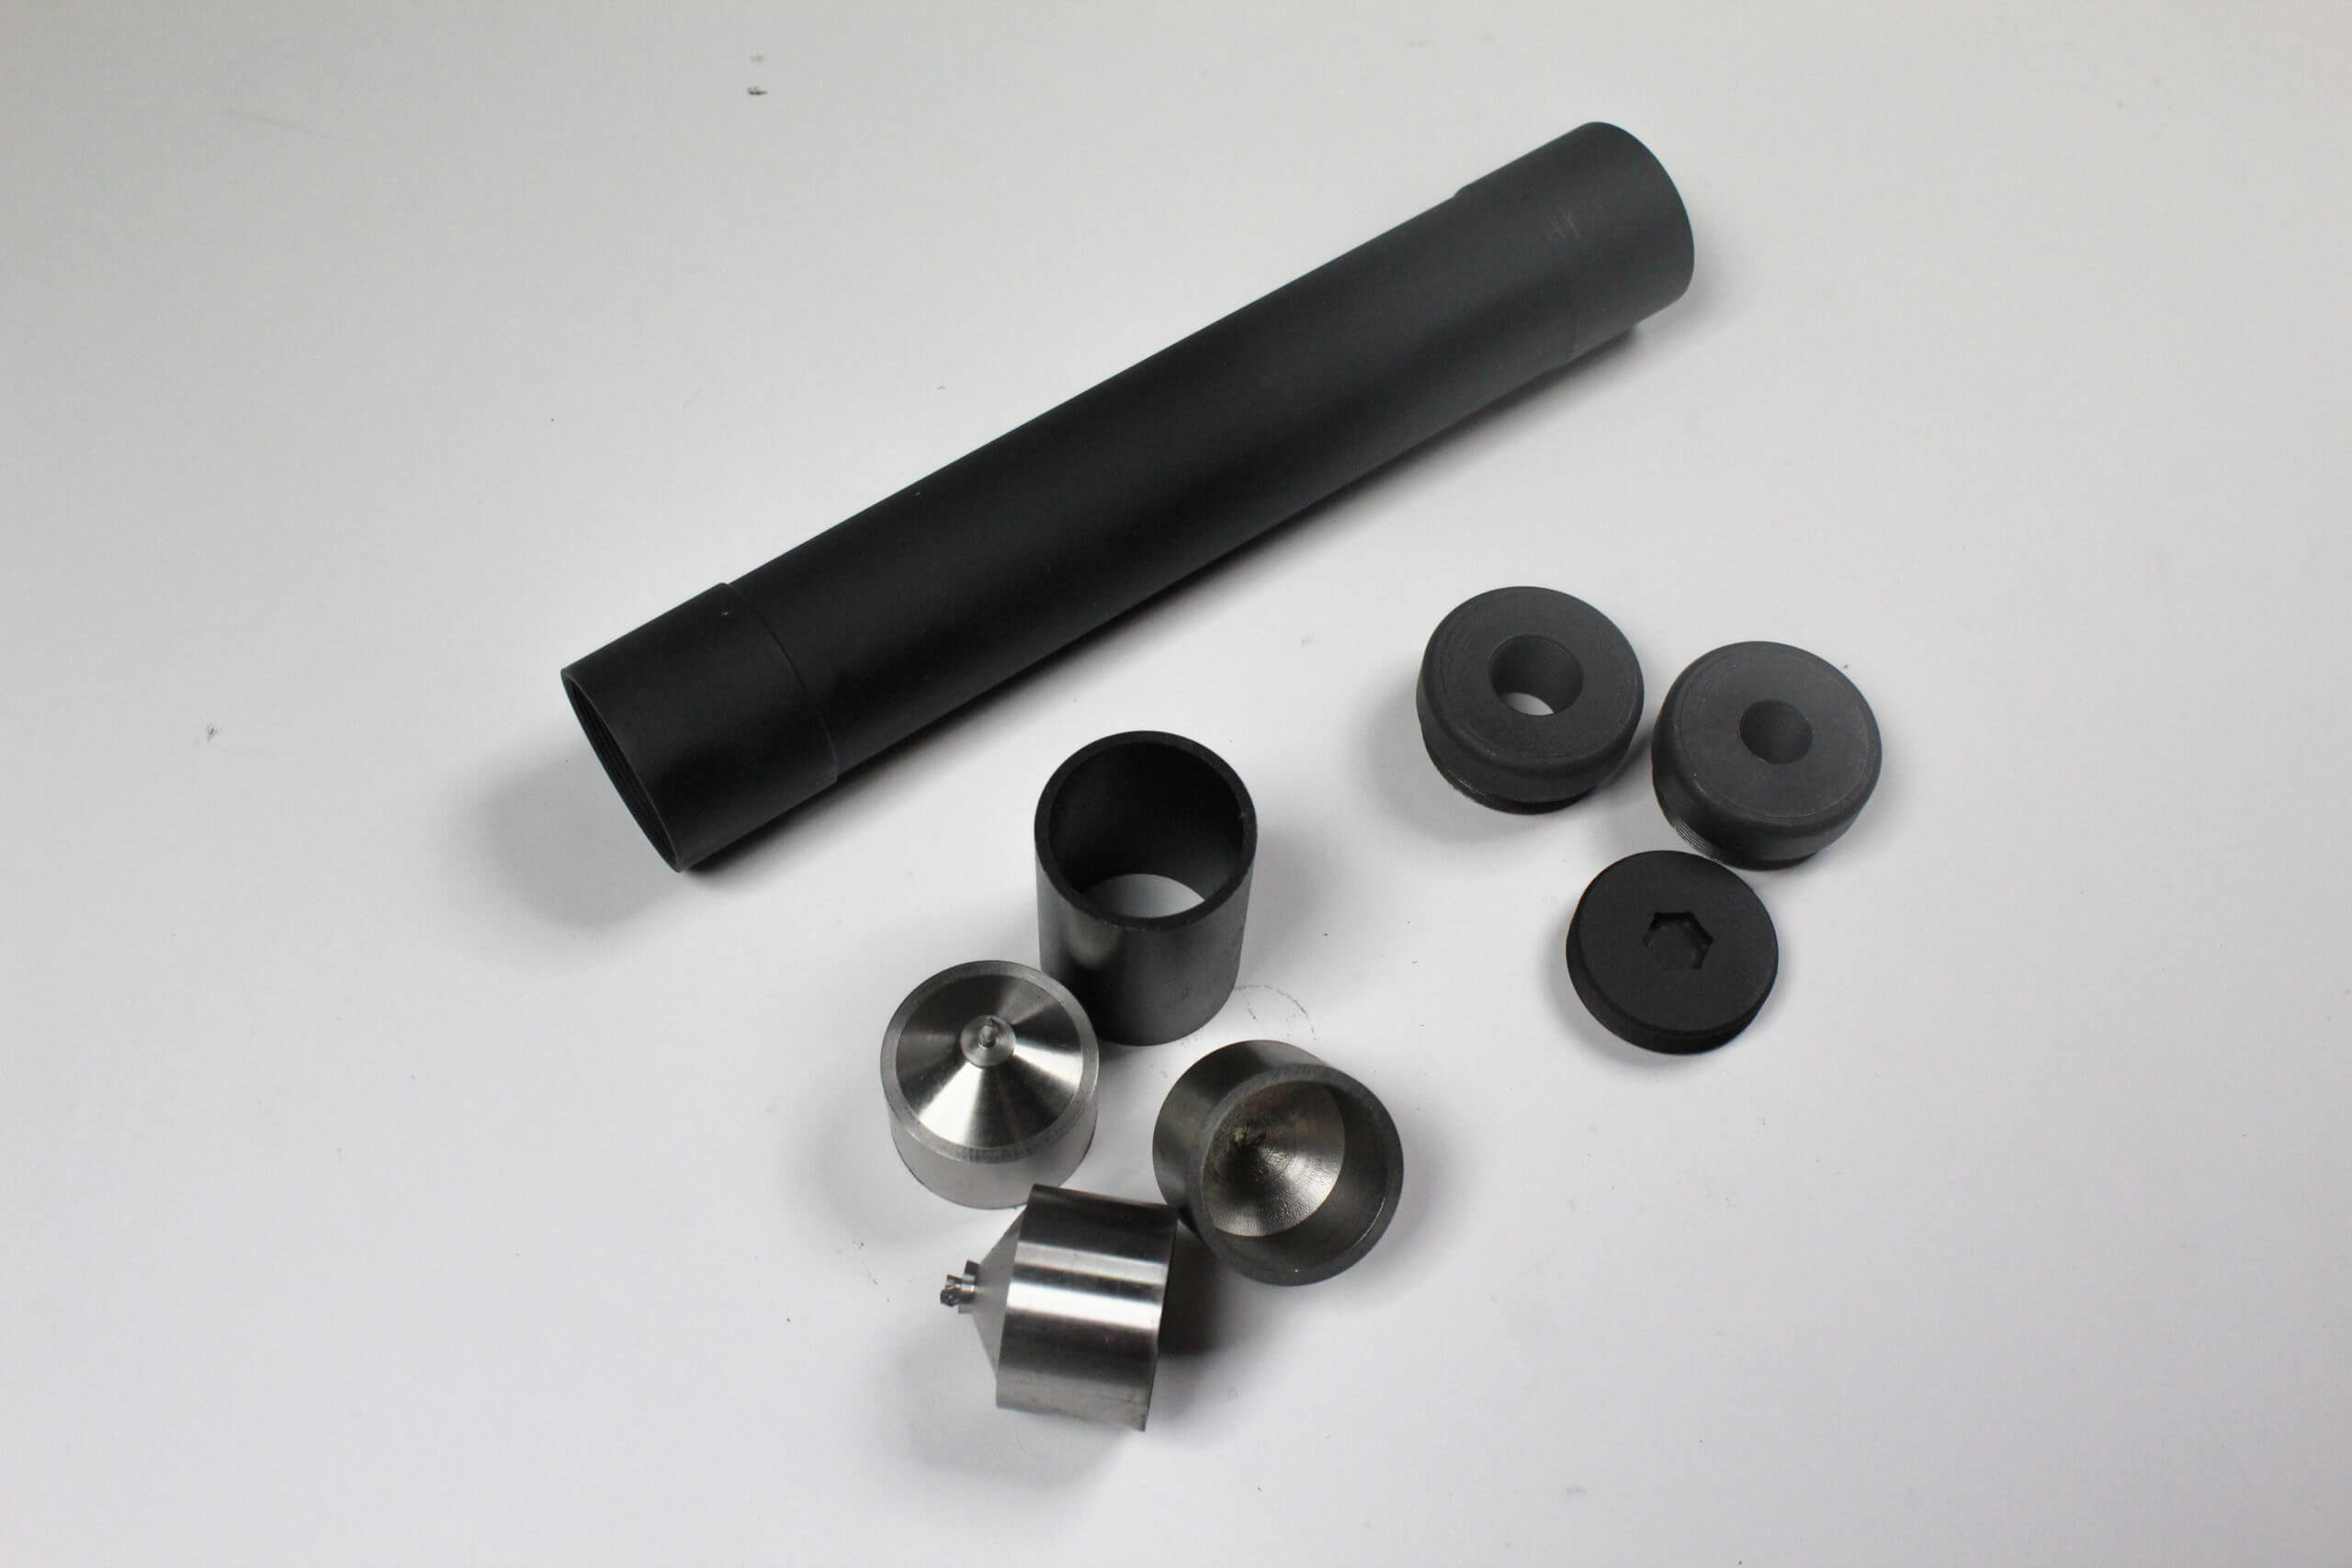
Once you have the two separated pieces you will want to place the internal into the lower portion of the drill fixture. Note that you will want the cone facing up to allow for finishing. If you place the internal with the flat side up you most likely will spin the internal in the fixture and ruin bits.


Now that you have your internal seated flat against the bottom of the jig you will want to put a bolt and nut through the horizontal hole to secure the internal in the fixture. Make sure it is snug but not to incredibly tight that you crush the internal.

Now you can simply place the top of the fixture back onto the bottom, making sure that the top seats completely flush to the bottom. Secure the top and bottom of the fixture together with the supplied bolts and nuts. These can be fairly tight, but do not need to be superman tight.

Once the top to bottom are secure and the horizontal bolt is tight you are ready to chuck the fixture in a vise and finish you internals.
DO NOT TRY TO HOLD THE FIXTURE IN YOUR HAND AND DRILL THE INTERNALS. IT WILL MOST LIKELY CATCH THE INTERNAL AND SPIN THE FIXTURE IN YOUR HAND. AGAIN, DON’T BE A DUMBASS.
We recommend using a cordless drill over a drill press for a few reasons, we often see that the form 1 community has cheaper drill presses that are not perfectly centered, and often times this slight off center causes the bit to chatter against the bushing either creating premature wear or the bit to break.
With TI internals you will want to go at 1/2 -1/4 speed with medium to light pressure, oil lubricant and a pecking technique to allow the bit and internal to cool. ( you should be able to complete all internals with a single drill bit) if you do happen to break a bit, each drill fixture product page lists the McMaster part number we use in our kits for replacements.

Once you complete the internal, you will want to pull the fixture apart and pull out the internal. Note that there will be shavings and potentially burs in or on the edge of the internal, these will most likely still hot and sharp. Use caution cleaning out the internals.
The final step is to finish your exit cap. Now that your internals are completed and your fixture is cleaned out of any burs or debris you can begin to finish the exit cap.
The fixture allows you complete the exit cap similarly to the internals. First you will want to separate the upper and lower part of the fixture. Then place the exit cap face down (hex side down) into the lower part of the fixture. Make sure that it is seated flush by gently pushing down on the exit cap.


Now that the cap is in place, re-tighten the horizontal bolt and nut to secure the exit cap into the lower portion of the drill fixture. Again, this only needs to be snug. Over tightening can lead to damage of the exit cap.
Once tightened, follow the same procedure. Place the top section of the fixture back onto the lower fixture, making sure to have them meet completely flush. Then tighten down the two provided bolts and nuts to secure the two fixture half together.
Once completed you should be able to assemble your kit and hit the range!
If you have any questions or concerns about our products, please visit our contact page and send us an email. We try to strive for responses within 1-2 business days.
DISCLAIMER: FAILURE TO COMPLETE AND HAVE AN APPROVED ATFFORM 1 AND DRILL YOUR INTERNALS IS CONSIDERED A FELONY. DON’T BE A DUMBASS.


